
1.)Install the MinIO Server
wget https://dl.min.io/server/minio/release/linux-amd64/archive/minio-20230217175243.0.0.x86_64.rpm -O minio.rpm
sudo dnf install minio.rpm
2.)systemd service
/etc/systemd/system/minio.service
[root@localhost system]# cat minio.service
[Unit]
Description=MinIO
Documentation=https://docs.min.io
Wants=network-online.target
After=network-online.target
AssertFileIsExecutable=/usr/local/bin/minio
[Service]
WorkingDirectory=/usr/local
User=minio-user
Group=minio-user
ProtectProc=invisible
EnvironmentFile=-/etc/default/minio
ExecStartPre=/bin/bash -c “if [ -z \”${MINIO_VOLUMES}\” ]; then echo \”Variable MINIO_VOLUMES not set in /etc/default/minio\”; exit 1; fi”
ExecStart=/usr/local/bin/minio server $MINIO_OPTS $MINIO_VOLUMES
# Let systemd restart this service always
Restart=always
# Specifies the maximum file descriptor number that can be opened by this process
LimitNOFILE=1048576
# Specifies the maximum number of threads this process can create
TasksMax=infinity
# Disable timeout logic and wait until process is stopped
TimeoutStopSec=infinity
SendSIGKILL=no
[Install]
WantedBy=multi-user.target
# Built for ${project.name}-${project.version} (${project.name})
[root@localhost system]# [root@localhost system]# cat minio.service
[Unit]
Description=MinIO
Documentation=https://docs.min.io
Wants=network-online.target
After=network-online.target
AssertFileIsExecutable=/usr/local/bin/minio
[Service]
WorkingDirectory=/usr/local
User=minio-user
Group=minio-user
ProtectProc=invisible
EnvironmentFile=-/etc/default/minio
ExecStartPre=/bin/bash -c “if [ -z \”${MINIO_VOLUMES}\” ]; then echo \”Variable MINIO_VOLUMES not set in /etc/default/minio\”; exit 1; fi”
ExecStart=/usr/local/bin/minio server $MINIO_OPTS $MINIO_VOLUMES
# Let systemd restart this service always
Restart=always
# Specifies the maximum file descriptor number that can be opened by this proces/etc/systemd/system/minio.service/etc/systemd/system/minio.service
3.)Add user
The minio.service file runs as the minio-user User and Group by default. You can create the user and group using the groupadd and useradd commands. The following example creates the user, group, and sets permissions to access the folder paths intended for use by MinIO. These commands typically require root (sudo) permissions.
groupadd -r minio-user
useradd -M -r -g minio-user minio-user
chown minio-user:minio-user /mnt/disk1 /mnt/disk2 /mnt/disk3 /mnt/disk4
3A.) Disk – lsblk, fdisk … how to add disk
[root@localhost default]# lsblk
NAME MAJ:MIN RM SIZE RO TYPE MOUNTPOINTS
sda 8:0 0 20.4G 0 disk
├─sda1 8:1 0 1G 0 part /boot
└─sda2 8:2 0 19.4G 0 part
├─rl-root 253:0 0 17.3G 0 lvm /
└─rl-swap 253:1 0 2G 0 lvm [SWAP]
sdb 8:16 0 10.2G 0 disk
sr0 11:0 1 1024M 0 rom
[root@localhost default]# fdisk -l
Disk /dev/sda: 20.38 GiB, 21879635968 bytes, 42733664 sectors
Disk model: VBOX HARDDISK
Units: sectors of 1 * 512 = 512 bytes
Sector size (logical/physical): 512 bytes / 512 bytes
I/O size (minimum/optimal): 512 bytes / 512 bytes
Disklabel type: dos
Disk identifier: 0x5988d314
Device Boot Start End Sectors Size Id Type
/dev/sda1 * 2048 2099199 2097152 1G 83 Linux
/dev/sda2 2099200 42733567 40634368 19.4G 8e Linux LVM
Disk /dev/sdb: 10.15 GiB, 10900324352 bytes, 21289696 sectors
Disk model: VBOX HARDDISK
Units: sectors of 1 * 512 = 512 bytes
Sector size (logical/physical): 512 bytes / 512 bytes
I/O size (minimum/optimal): 512 bytes / 512 bytes
Disk /dev/mapper/rl-root: 17.34 GiB, 18614321152 bytes, 36356096 sectors
Units: sectors of 1 * 512 = 512 bytes
Sector size (logical/physical): 512 bytes / 512 bytes
I/O size (minimum/optimal): 512 bytes / 512 bytes
Disk /dev/mapper/rl-swap: 2.04 GiB, 2189426688 bytes, 4276224 sectors
Units: sectors of 1 * 512 = 512 bytes
Sector size (logical/physical): 512 bytes / 512 bytes
I/O size (minimum/optimal): 512 bytes / 512 bytes
[root@localhost default]#
[root@localhost default]# fdisk /dev/sdb
Welcome to fdisk (util-linux 2.37.4).
Changes will remain in memory only, until you decide to write them.
Be careful before using the write command.
Device does not contain a recognized partition table.
Created a new DOS disklabel with disk identifier 0x778a5a63.
Command (m for help): n
Partition type
p primary (0 primary, 0 extended, 4 free)
e extended (container for logical partitions)
Select (default p):
Using default response p.
Partition number (1-4, default 1):
First sector (2048-21289695, default 2048):
Last sector, +/-sectors or +/-size{K,M,G,T,P} (2048-21289695, default 21289695):
Created a new partition 1 of type ‘Linux’ and of size 10.2 GiB.
Command (m for help): w
The partition table has been altered.
Calling ioctl() to re-read partition table.
Syncing disks.
[root@localhost default]# lsblk
NAME MAJ:MIN RM SIZE RO TYPE MOUNTPOINTS
sda 8:0 0 20.4G 0 disk
├─sda1 8:1 0 1G 0 part /boot
└─sda2 8:2 0 19.4G 0 part
├─rl-root 253:0 0 17.3G 0 lvm /
└─rl-swap 253:1 0 2G 0 lvm [SWAP]
sdb 8:16 0 10.2G 0 disk
└─sdb1 8:17 0 10.2G 0 part
sr0 11:0 1 1024M 0 rom
[root@localhost default]# mkfs.xfs /dev/sdb1
meta-data=/dev/sdb1 isize=512 agcount=4, agsize=665239 blks
= sectsz=512 attr=2, projid32bit=1
= crc=1 finobt=1, sparse=1, rmapbt=0
= reflink=1 bigtime=1 inobtcount=1
data = bsize=4096 blocks=2660956, imaxpct=25
= sunit=0 swidth=0 blks
naming =version 2 bsize=4096 ascii-ci=0, ftype=1
log =internal log bsize=4096 blocks=2560, version=2
= sectsz=512 sunit=0 blks, lazy-count=1
realtime =none extsz=4096 blocks=0, rtextents=0
[root@localhost default]#
mkdir /data
mount /dev/sb1 /data
o enable auto mount of the newly added disk incase of any reboot, we need to add the following configurations in the /etc/fstab file.
Open the /etc/fstab file and add the following entry in the last line of the file.
/dev/sdc1 /data2 xfs defaults 0 0Finally the file will look like the one below. The below screenshot is a sample one. Do not worry about the remaining entries. You only need to ensure the correctness of the last line.

Now save this file and verify the entry by doing the following commands.
We will unmount the newly added disk and mount it back using the entries in the /etc/fstab file. If the mount is properly happening based on the entry in the fstab file, we are good.
The command to unmount is umount
# Unmount the disk
umount /data2

# Verify the unmount operation using the commands lsblk or df -h. You will see the new mountpoint missing
lsblk

# Now perform the mount using the entries in the /etc/fstab file
mount -a

# Now verify the mount points using lsblk or df -h command.
# You will be able to see the newly added disk with mount point
lsblk
4.) minio-user & rights
The minio.service file runs as the minio-user User and Group by default. You can create the user and group using the groupadd and useradd commands. The following example creates the user, group, and sets permissions to access the folder paths intended for use by MinIO. These commands typically require root (sudo) permissions.
groupadd -r minio-user
useradd -M -r -g minio-user minio-user
chown minio-user:minio-user /mnt/disk1 /mnt/disk2 /mnt/disk3 /mnt/disk4
5.) minio config
Create an environment variable file at /etc/default/minio. For Windows hosts, specify a Windows-style path similar to C:\minio\config. The MinIO Server container can use this file as the source of all environment variables.
The following example provides a starting environment file:
# MINIO_ROOT_USER and MINIO_ROOT_PASSWORD sets the root account for the MinIO server.
# This user has unrestricted permissions to perform S3 and administrative API operations on any resource in the deployment.
# Omit to use the default values 'minioadmin:minioadmin'.
# MinIO recommends setting non-default values as a best practice, regardless of environment

MINIO_ROOT_USER=myminioadmin
MINIO_ROOT_PASSWORD=minio-secret-key-change-me

# MINIO_VOLUMES sets the storage volume or path to use for the MinIO server.

MINIO_VOLUMES="/mnt/data"

# MINIO_SERVER_URL sets the hostname of the local machine for use with the MinIO Server
# MinIO assumes your network control plane can correctly resolve this hostname to the local machine

# Uncomment the following line and replace the value with the correct hostname for the local machine.

#MINIO_SERVER_URL="http://minio.example.net"
Include any other environment variables as required for your local deployment.
6.) start minio service
Issue the following command on the local host to start the MinIO SNSD deployment as a service:
sudo systemctl start minio.service
Use the following commands to confirm the service is online and functional:
sudo systemctl status minio.service
journalctl -f -u minio.service
MinIO may log an increased number of non-critical warnings while the server processes connect and synchronize. These warnings are typically transient and should resolve as the deployment comes online.
Changed in version RELEASE.2023-02-09T05-16-53Z: MinIO starts if it detects enough drives to meet the write quorum for the deployment.
If any drives remain offline after starting MinIO, check and cure any issues blocking their functionality before starting production workloads.
The journalctl output should resemble the following:
Status:         1 Online, 0 Offline.
API: http://192.168.2.100:9000  http://127.0.0.1:9000
RootUser: myminioadmin
RootPass: minio-secret-key-change-me
Console: http://192.168.2.100:9090 http://127.0.0.1:9090
RootUser: myminioadmin
RootPass: minio-secret-key-change-me

Command-line: https://min.io/docs/minio/linux/reference/minio-mc.html
   $ mc alias set myminio http://10.0.2.100:9000 myminioadmin minio-secret-key-change-me

Documentation: https://min.io/docs/minio/linux/index.html
The API block lists the network interfaces and port on which clients can access the MinIO S3 API. The Console block lists the network interfaces and port on which clients can access the MinIO Web Console.
7.) connect to the minio service
MinIO Console
You can access the MinIO Console by entering any of the hostnames or IP addresses from the MinIO server Console block in your preferred browser, such as http://localhost:9090.
Log in with the MINIO_ROOT_USER and MINIO_ROOT_PASSWORD configured in the environment file specified to the container.
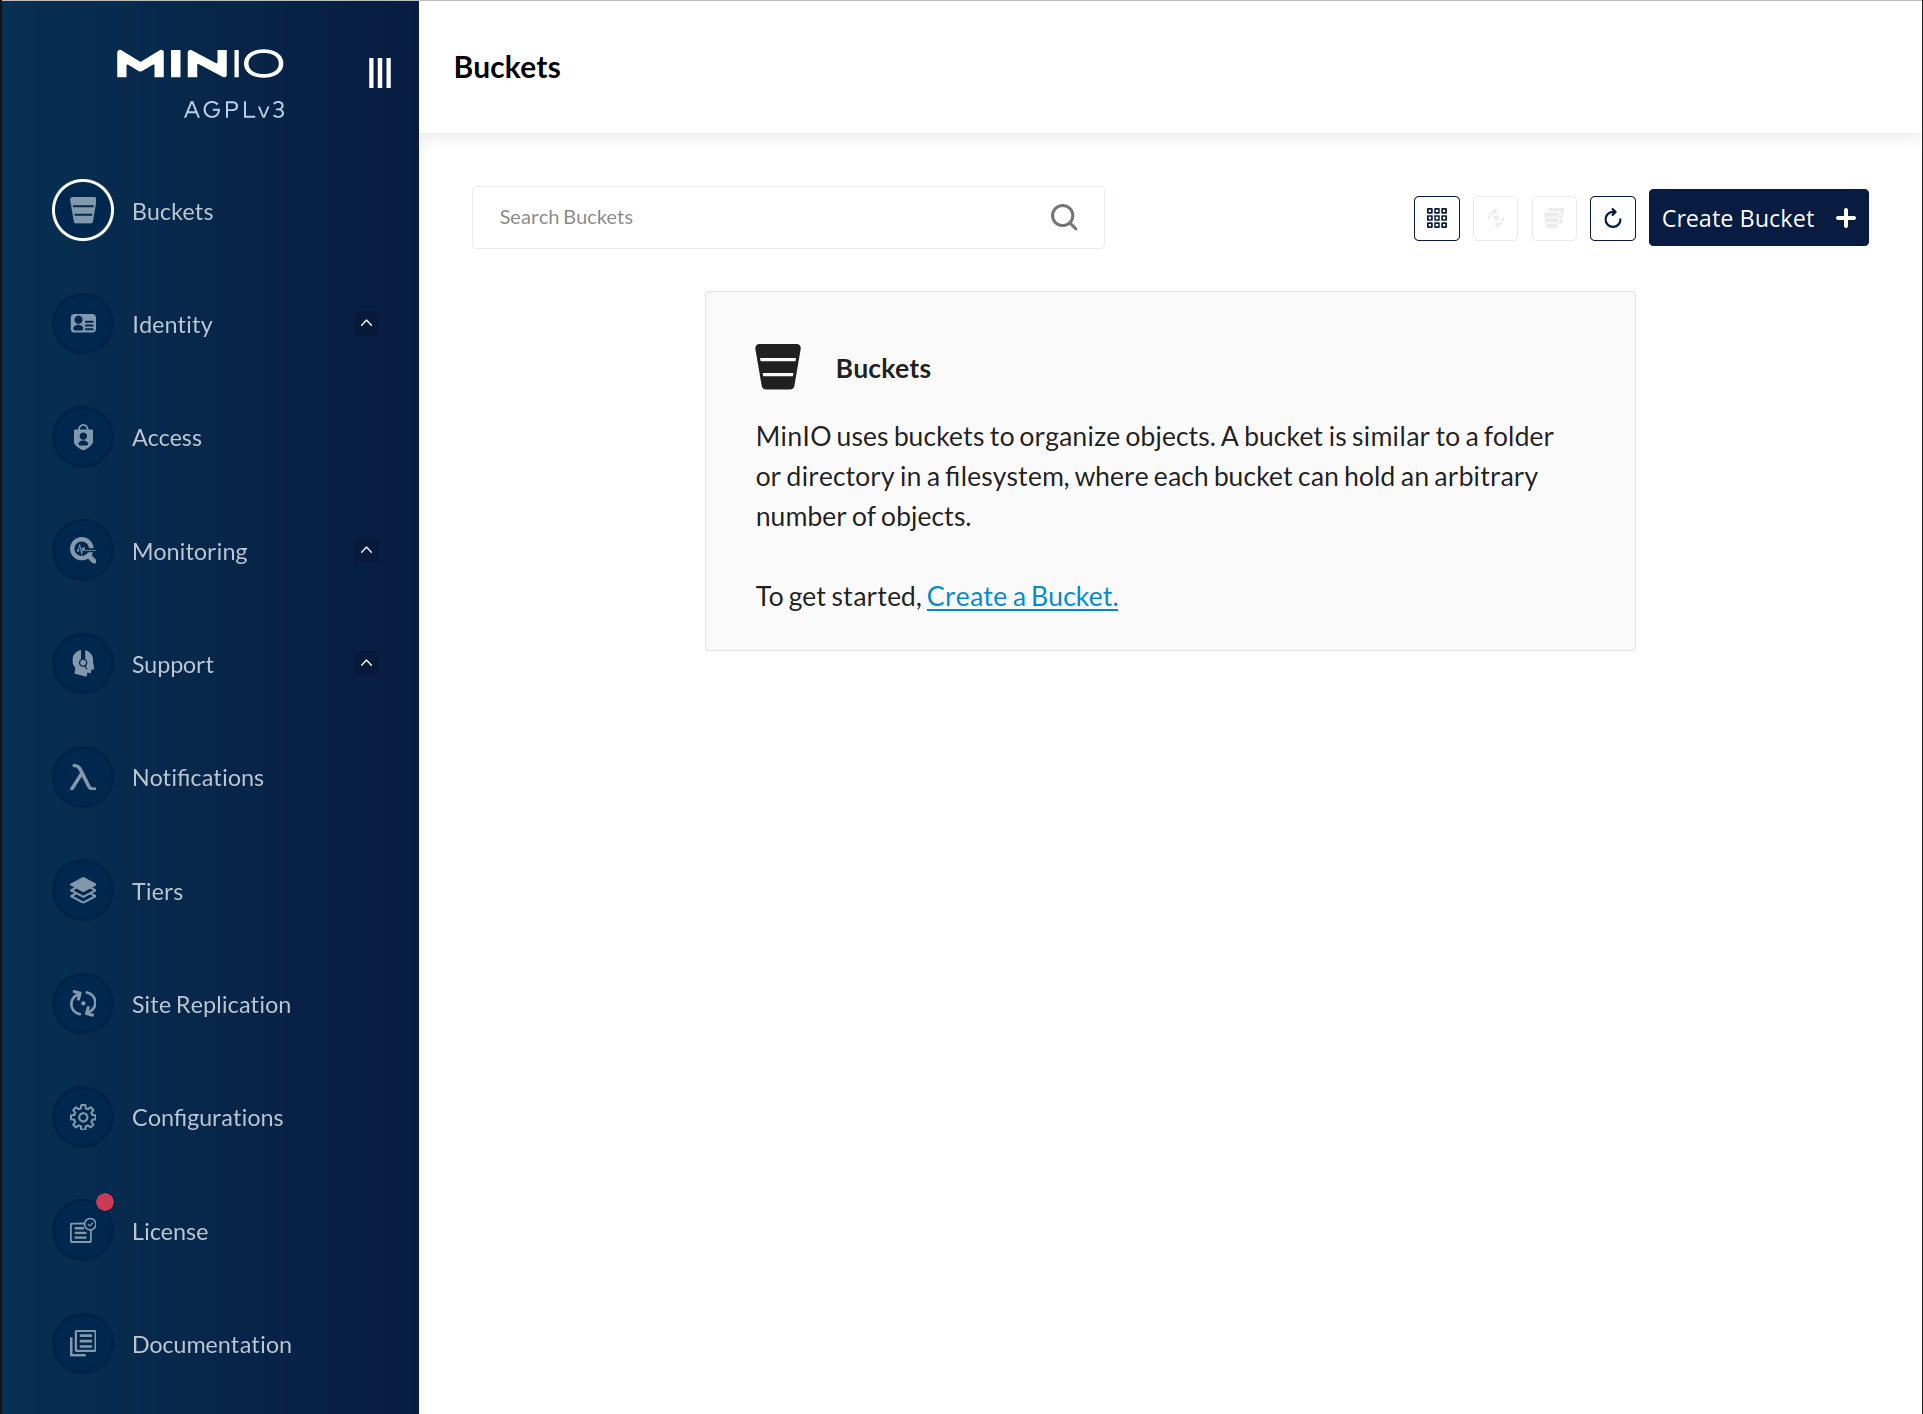
You can use the MinIO Console for general administration tasks like Identity and Access Management, Metrics and Log Monitoring, or Server Configuration. Each MinIO server includes its own embedded MinIO Console.
If your local host firewall permits external access to the Console port, other hosts on the same network can access the Console using the IP or hostname for your local host.